
How to Use Label Studio
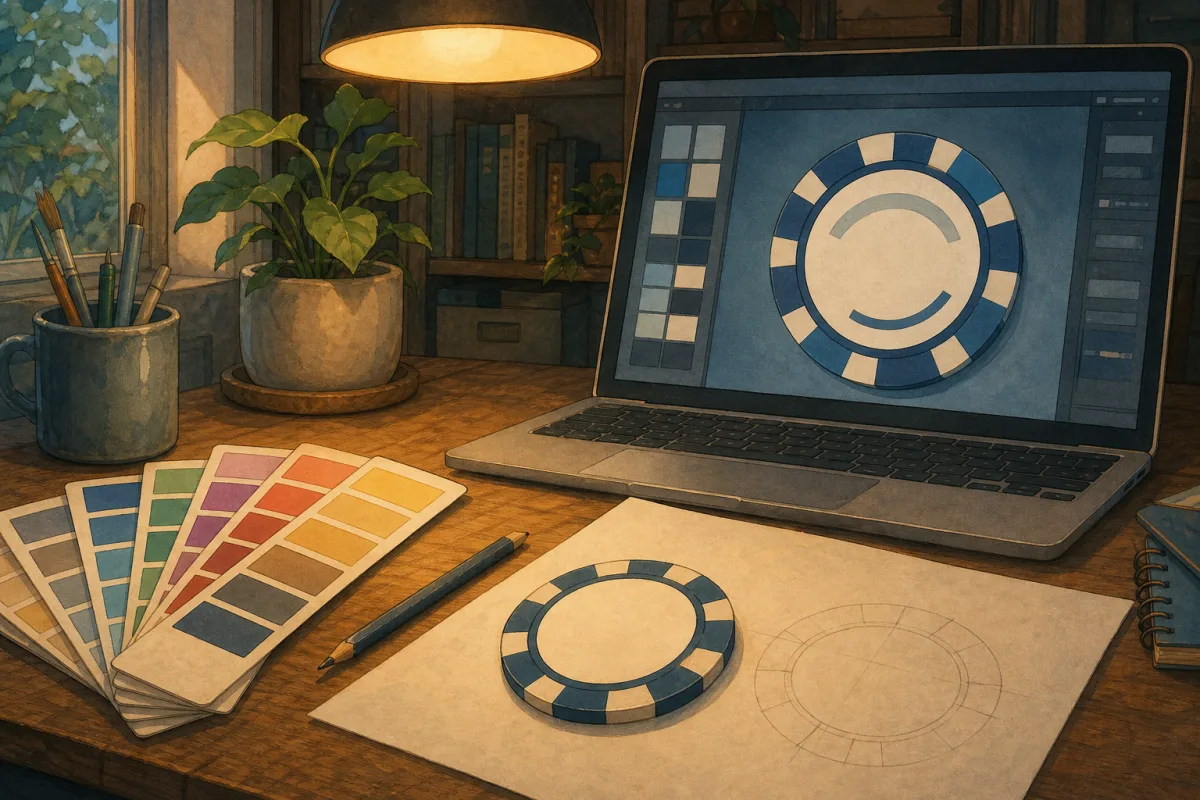
Label Studio - ring text, centre copy, shapes, and live preview editing in one Layers panel. Lock layers, drag to reorder, then export or quote.
Most custom chip configurators stop at logo upload. Poker Foundry built Label Studio so hosts, clubs, and event organisers could mock up a full casino-style inlay - ring text, centre copy, and denomination together - before they order. New in Label Studio: AI Label Assistant (Beta) - describe your chip in chat and get ring copy, colours, and shapes on the live mockup, then fine-tune in Layers. For how Label Studio compares to typical supplier tools, see custom poker chip label designer online. This guide walks through every panel in Label Studio. For print file specs and CMYK prep, pair it with our custom poker chips artwork guide.
Why mock up in Label Studio first
The printable chip face on standard 10g casino-grade chips is not large. Curved ring text, a centre logo, and a readable denomination all compete for the same space.
Label Studio lets you:
- See layout and contrast on a checkerboard artboard that reads like a production mockup
- Edit on the preview - drag elements, resize with the corner handle, double-click text to type, double-click a logo to centre
- Add shapes, text, and logos or images from one Layers panel - lock layers you are not editing so only unlocked ones are grabbable, and drag rows to reorder the stack
- Open View on chip for a clay or ceramic body mockup with swappable edge colours
- Share a PNG or autosaved link with your group before anyone orders
- Attach the mockup to an instant quote so our team sees your intent from day one
It is a planning tool, not a replacement for print-ready vector files. When you order, we refine spacing, CMYK colour, and proof details before manufacture - the same workflow as a traditional design brief.
| Typical chip configurator | Poker Foundry Label Studio |
|---|---|
| Upload a logo onto a fixed template | Compose ring text, centre lines, background shapes, denomination, and logo on a live artboard |
| One font, no arc control | Twelve typefaces, per-layer style controls, dual arcs with independent letter-spacing |
| Email revisions back and forth | Iterate in the browser, share a link, attach the mockup when you quote |
| Static PDF mockup days later | Real-time preview, PNG export, autosave as you edit |
Try the live preview
The demo below mirrors the Label Studio landing page - a casino-ring sampler on this page. Pick a starter template, edit text, and drag on the preview. Click Open Label Studio to continue in the full editor with your demo carried over.
Getting started - open Label Studio and pick a layout
- Go to Label Studio and click Open Label Studio (from the landing demo or hero).
- In Layout, choose a layout preset - casino ring, full ring, or classic stack - or pick a quick start (cash game, tournament, or corporate) to open that layout with starter copy.
- Optional: edit anything on the preview or in the Layers panel after the quick start loads.
Each preset keeps its own saved draft. Switch from casino ring to classic stack and back - you will not lose work on either layout.
Layout presets at a glance
| Preset | Best for |
|---|---|
| Casino ring | Classic top and bottom arc text with centre logo or copy |
| Full ring | Continuous text around the edge with a stacked centre |
| Classic stack | Straight stacked centre text - no arcs |
Browse the gallery for finished-set references, or view design examples in the instant quote design step before you build.
Label Studio panels - what each section does
The full Label Studio splits controls on the left and a live preview on the right (preview first on mobile). Most composition happens on the artboard - the sidebar handles layout choice and the unified Layers stack.
The landing-page demo above is a casino-ring sampler (starter templates and preview editing). The full Label Studio adds three layout presets, the Layers panel, and per-text style controls.
Layout
- Layout preset - casino ring, full ring, or classic stack; each layout autosaves separately
- Quick starts - cash game, tournament, and corporate scenarios that pre-fill text, shapes, and sizes for the active layout - then edit anything on the preview
Layers
One panel for shapes, text, and logos or images:
- Add shape - circle, chip ring, bar, pill, rectangle, diamond, star, hexagon, or shield
- Add text - full ring, top ring, bottom ring, or generic centre text
- Upload logo / image - PNG, JPEG, WebP, or GIF (max 2MB); upload multiple logos or photos on one label
- Layer list - each row shows a shape, text zone, or image; expand a text row for font, size, colour, and tracking controls
- Lock - a locked layer cannot be selected or dragged on the preview; lock every layer you are not editing so only the unlocked one is grabbable
- Drag rows - reorder the stack (top of the list = in front; bottom = at the back)
When shapes, text, and logos stack on top of each other, the preview grabs the topmost unlocked layer under your cursor - which is not always the one you want. Lock the layers you are finished with (or are not moving right now) so they stay out of the way; leave the layer you need unlocked and it is the one you will grab. Or drag rows to bring that layer to the front of the stack.
Text style (per layer)
Expand a text row in Layers to open inline style controls:
- Font - twelve casino-ready options: Casino Display, DM Mono, Condensed, Roman Casino, Elegant Serif, Classic Serif, Clean Sans, Tournament Bold, Western Saloon, Stencil Ops, Blackletter, and Arcade Pixel
- Weight and size - per text zone; resize on the preview with the corner handle (26px minimum - smaller type does not print reliably)
- Colour - hex picker per text layer
- Tracking - letter-spacing slider per ring or centre line (wider range on ring text, including negative tracking for long wrap-around copy)
- Start ° (full ring only) - where the first character sits around the edge
Your casing is preserved as you type - Label Studio does not force uppercase.
| Zone | Casino ring | Full ring | Classic stack |
|---|---|---|---|
| Top / edge ring | Top arc text | Continuous ring text | - |
| Bottom ring | Bottom arc text | - | - |
| Centre | Generic or stacked centre text | Stacked centre lines | Stacked centre lines |
| Denomination | Value on the artboard | Value on the artboard | Value on the artboard |
Logos and images
- Drag and resize on the preview to set placement and scale
- Double-click a logo to centre it on the artboard
- Invert per image for dark inlays when your mark is light-on-dark
- Replace or remove from the layer row
For production, vector sources (AI, EPS, SVG) still produce the sharpest print. Use Label Studio mockup to approve placement and relative size; supply high-resolution or vector files at proof stage if you have them.
Live preview - drag, resize, and edit
On the artboard:
- Drag any unlocked element to reposition
- Corner handle to resize type, shapes, or logos (text enforces a 26px minimum)
- Double-click text for inline editing; double-click logo to centre
- Radius guides appear while you adjust curved ring text
Hint bar under the preview summarises gestures (dismissible). On desktop, use the Zoom slider above the toolbar for a closer view.
Preview toolbar
The preview panel includes:
- Undo / redo - 50 steps with keyboard shortcuts
- Label colour - set the inlay background from the toolbar swatch
- Snap - toggle alignment guides while dragging
- Download PNG - export the live artboard
- Copy share link - when your design has autosaved
- View on chip - opens a modal with clay or ceramic body and swappable edge colours
- Reset label - return to the preset default for the active layout
- Help - reopen the onboarding tips
- Quote this design - hand the mockup straight to our team via instant quote
On mobile, a sticky mini-preview follows you as you scroll through controls.
We recommend desktop for the most comfortable editing; mobile supports the same controls.
Three steps from blank to quote
| Step | What you do |
|---|---|
| 1. Pick a layout | Casino ring, full ring, or classic stack - each keeps its own saved draft |
| 2. Compose your label | Ring text, logos, shapes, and images in Layers - lock layers you are not editing so only the unlocked one is grabbable; drag rows to reorder when elements overlap |
| 3. Share or quote | Download a PNG, share your autosaved link, or attach the design to an instant quote |
Colours, contrast, and export
When you are happy with the layout:
- Autosave - your design saves silently to a private URL as you edit
- Copy link - share with co-hosts or club committees
- Download PNG - export the live preview for group chat feedback
- Quote this design - attach the mockup when you get an instant quote
Treat RGB preview colours as layout approval, not exact print match - CMYK conversion happens at proof stage. See the artwork guide for colour mode details.
Clay vs ceramic - same artboard, different print method
Both Poker Foundry lines use the same printable face area on the preview. The difference is how artwork is applied:
| Clay (printed inlay) | Ceramic (direct print) | |
|---|---|---|
| Method | High-resolution print on a paper inlay set into the face | Full-colour print bonded directly to the chip |
| Best for detail | Fine lines, small type, photos, intricate crests | Bold logos, clear denominations, high contrast |
| Minimum order | 500 chips | 300 chips |
Still deciding? Read our clay vs ceramic poker chips comparison or how to choose custom poker chips. Product pages: custom clay chips and custom ceramic chips.
Can I customise body colour and edge spots? On ceramic, add Full Chip Customisation in the quote. Clay customises the inlay only.
Common label mistakes to avoid
| Mistake | Why it hurts | What to do |
|---|---|---|
| Text too close to the edge | Curved copy can clip when chips stack or under felt lighting | Drag arcs inward on the preview; our team adds safe margins at proof |
| Tiny denomination type | Small values are hard to read across the table | Resize on the preview enforces a 26px minimum - tournament templates start large for a reason |
| Low-contrast colours | Pale text on cream inlays disappears under casino lighting | Set label background from the toolbar swatch and tune per-layer text colours before you export |
| Assuming screen = print | RGB preview colours shift in CMYK | Treat the mockup as layout approval; read the artwork guide for file prep |
From mockup to manufactured chips
Label design and sign-off typically take ~1 week, depending on how quickly you review proofs. Manufacturing only starts after written approval.
- Mock up in Label Studio - share PNG or link with your group
- Get an instant quote - attach the saved design so our team sees your layout
- Proof stage - supply vector artwork if you have it, or brief us from the mockup (full design service $136 in the instant quote)
- Written sign-off - production begins after approval (~10 weeks standard freight post sign-off; rush available)
Timeline details: how long custom poker chips take.
Who uses Label Studio
- Home games - mock up denominations and room names before a full custom set
- Poker clubs & leagues - align centre text, edge bands, and crests across a multi-colour inventory
- Corporate & charity events - preview branded inlays for one-off tournaments or donor thank-you sets
- Cash & tournament sets - use starter templates for ring text, centre stacks, and denomination callouts
Ready to build your mockup?
Open Label Studio - free, no account, autosave included.
When the layout looks right, get an instant quote with your design attached, or read the artwork & print specs guide if you are preparing vector files for proof stage.